
The Start Menu and Search App
Lesson 7
Author’s Note: This lesson is certified accurate for Windows 11 version 23H2 (March 2024).
Resources
ZIP file of all resources for lesson 7 (alternatively, download individual files below)
Back to Windows 11 Training Page
Objectives
By the end of this lesson you will understand, be able to discuss, and/or perform the following tasks as they relate to the Start menu and Search app in Windows 11:
- Locate and use the Start button to open the Start menu
- Explain the difference between the Start menu and the Search app
- Move to and understand how to navigate within the different sections of the Start menu
Start Button
The Start button is the first of the buttons which are grouped and centered on the Taskbar at the bottom of the screen.
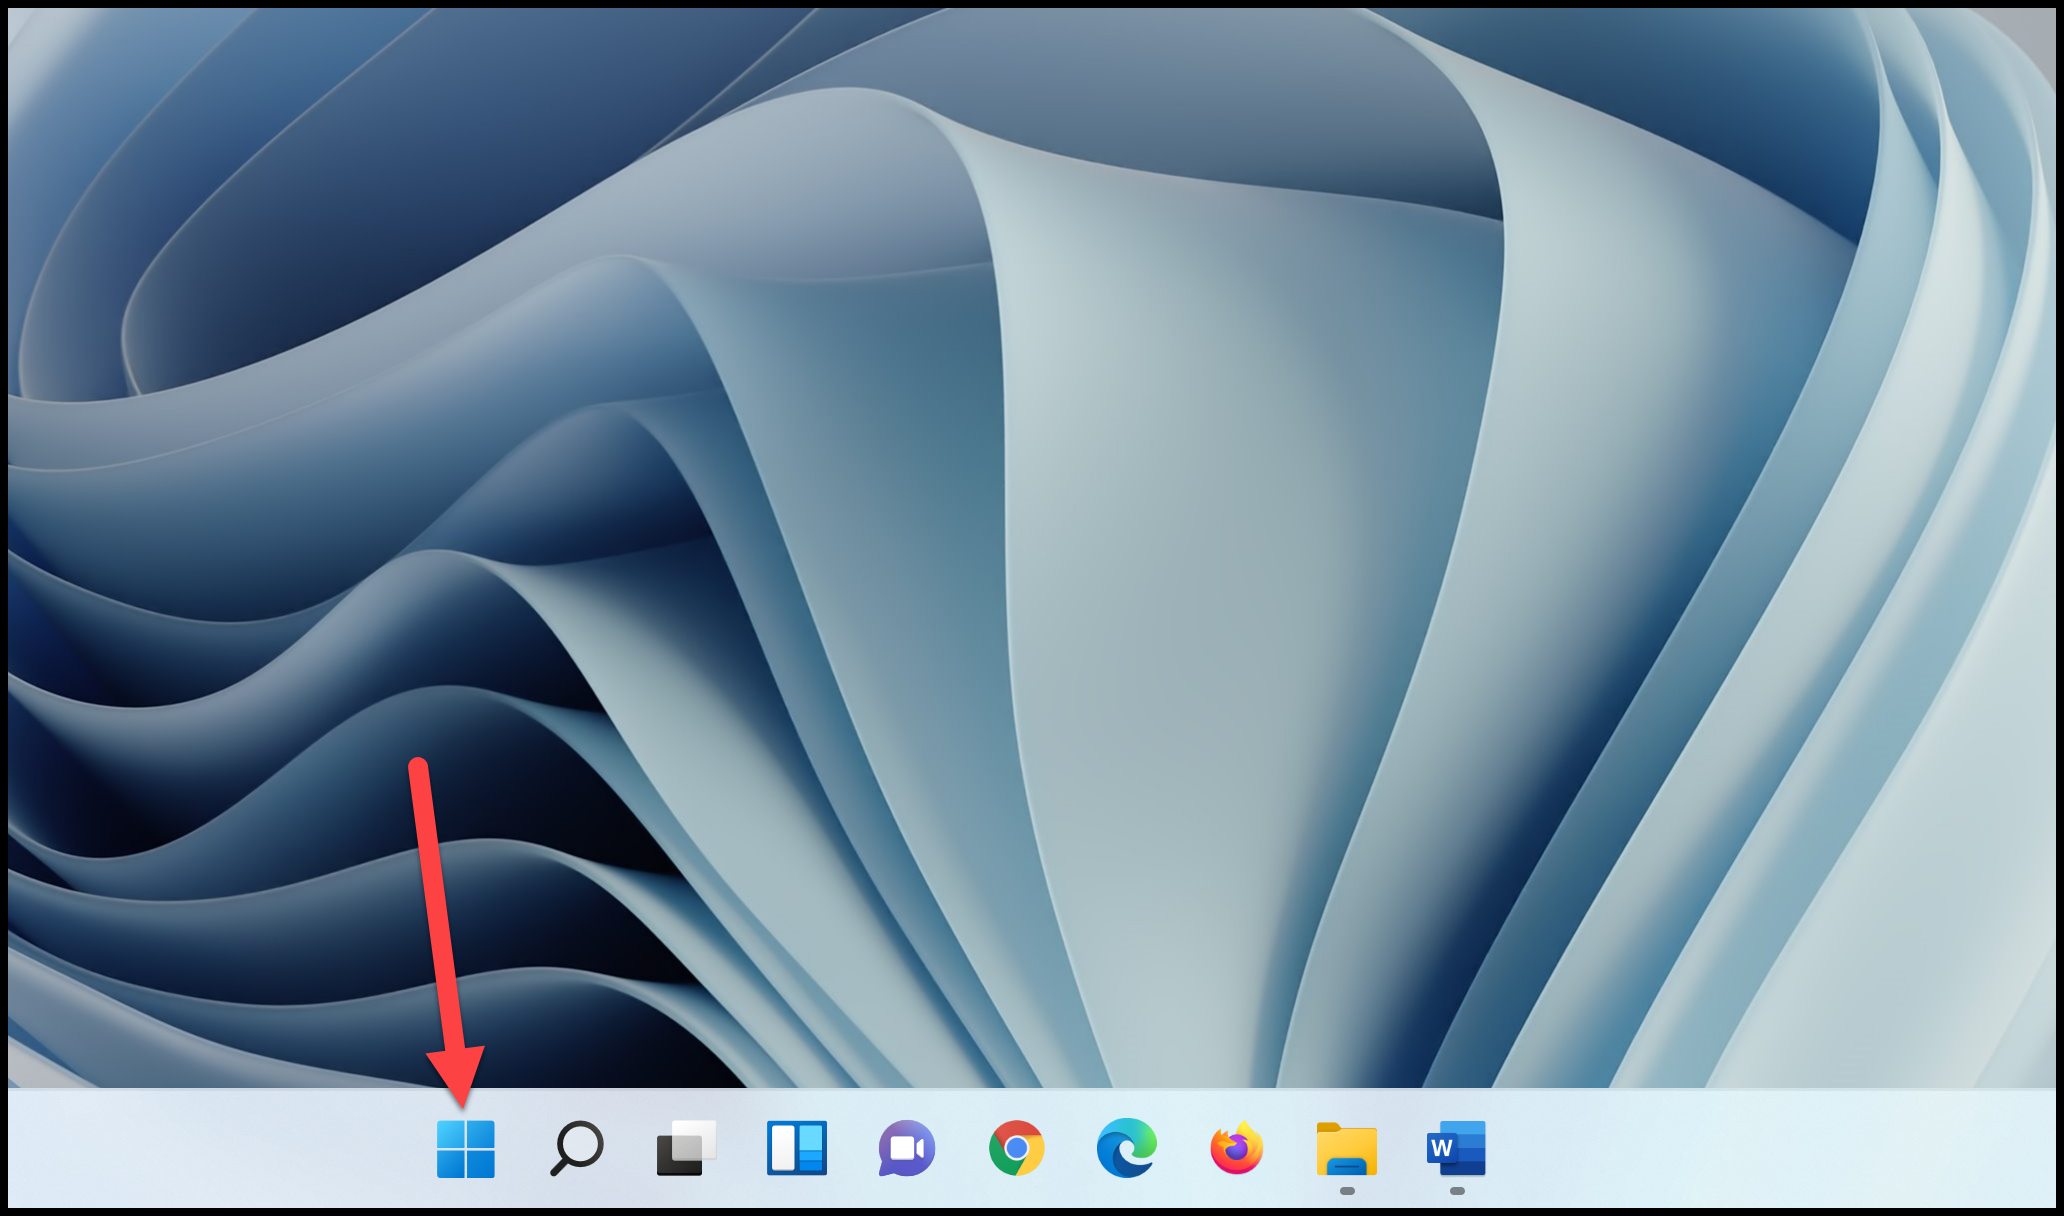
Activate the Start button to open the Start menu by pressing the WINDOWS key, or Left Click the Start button with a mouse. Let us look at the various parts of the Start menu next.
- Press the WINDOWS key first to open the Start menu.
Windows Search App
When the Start menu opens, focus is within the Search edit box at the top of the Start menu. In prior versions of Windows, the Search edit box was anchored at the bottom of the Start menu while typing. As you begin typing Windows switches to the Search app and displays a filtered list of search results below. The closest match appears at the top of the list. If that search result is the one you want, just press ENTER to launch the app. If not, press DOWN ARROW to move through the remaining search results.
Note that if you want to explore the Start menu, do not type any text in the Search edit box. As soon as one types text in the Search edit box, the Start menu disappears and is replaced by the Search feature. We will explore the Start menu in more detail in a moment.

- Type the letters W O to search for Microsoft Word.
You may also press the TAB key to explore other options in the Search app. For example, after typing a search word or phrase, just below the Search edit box is a row of tab controls, including:
- All (the currently selected tab)
- Apps
- Documents
- Web
- More
The default Search tab page is “All.”
When pressing TAB to navigate within the Search app you may find other sections such as Best Match, Apps, Search the Web, Documents, etc. Feel free to explore these other sections at your convenience.
- For now, press ESC to close the Search app.
Pinned Area of the Start Menu
- Open the Start menu again by pressing the WINDOWS key. Focus is once again in the Search edit box. Do not type anything in the Search edit box.
- Press TAB to move to the Pinned section of the Start menu.
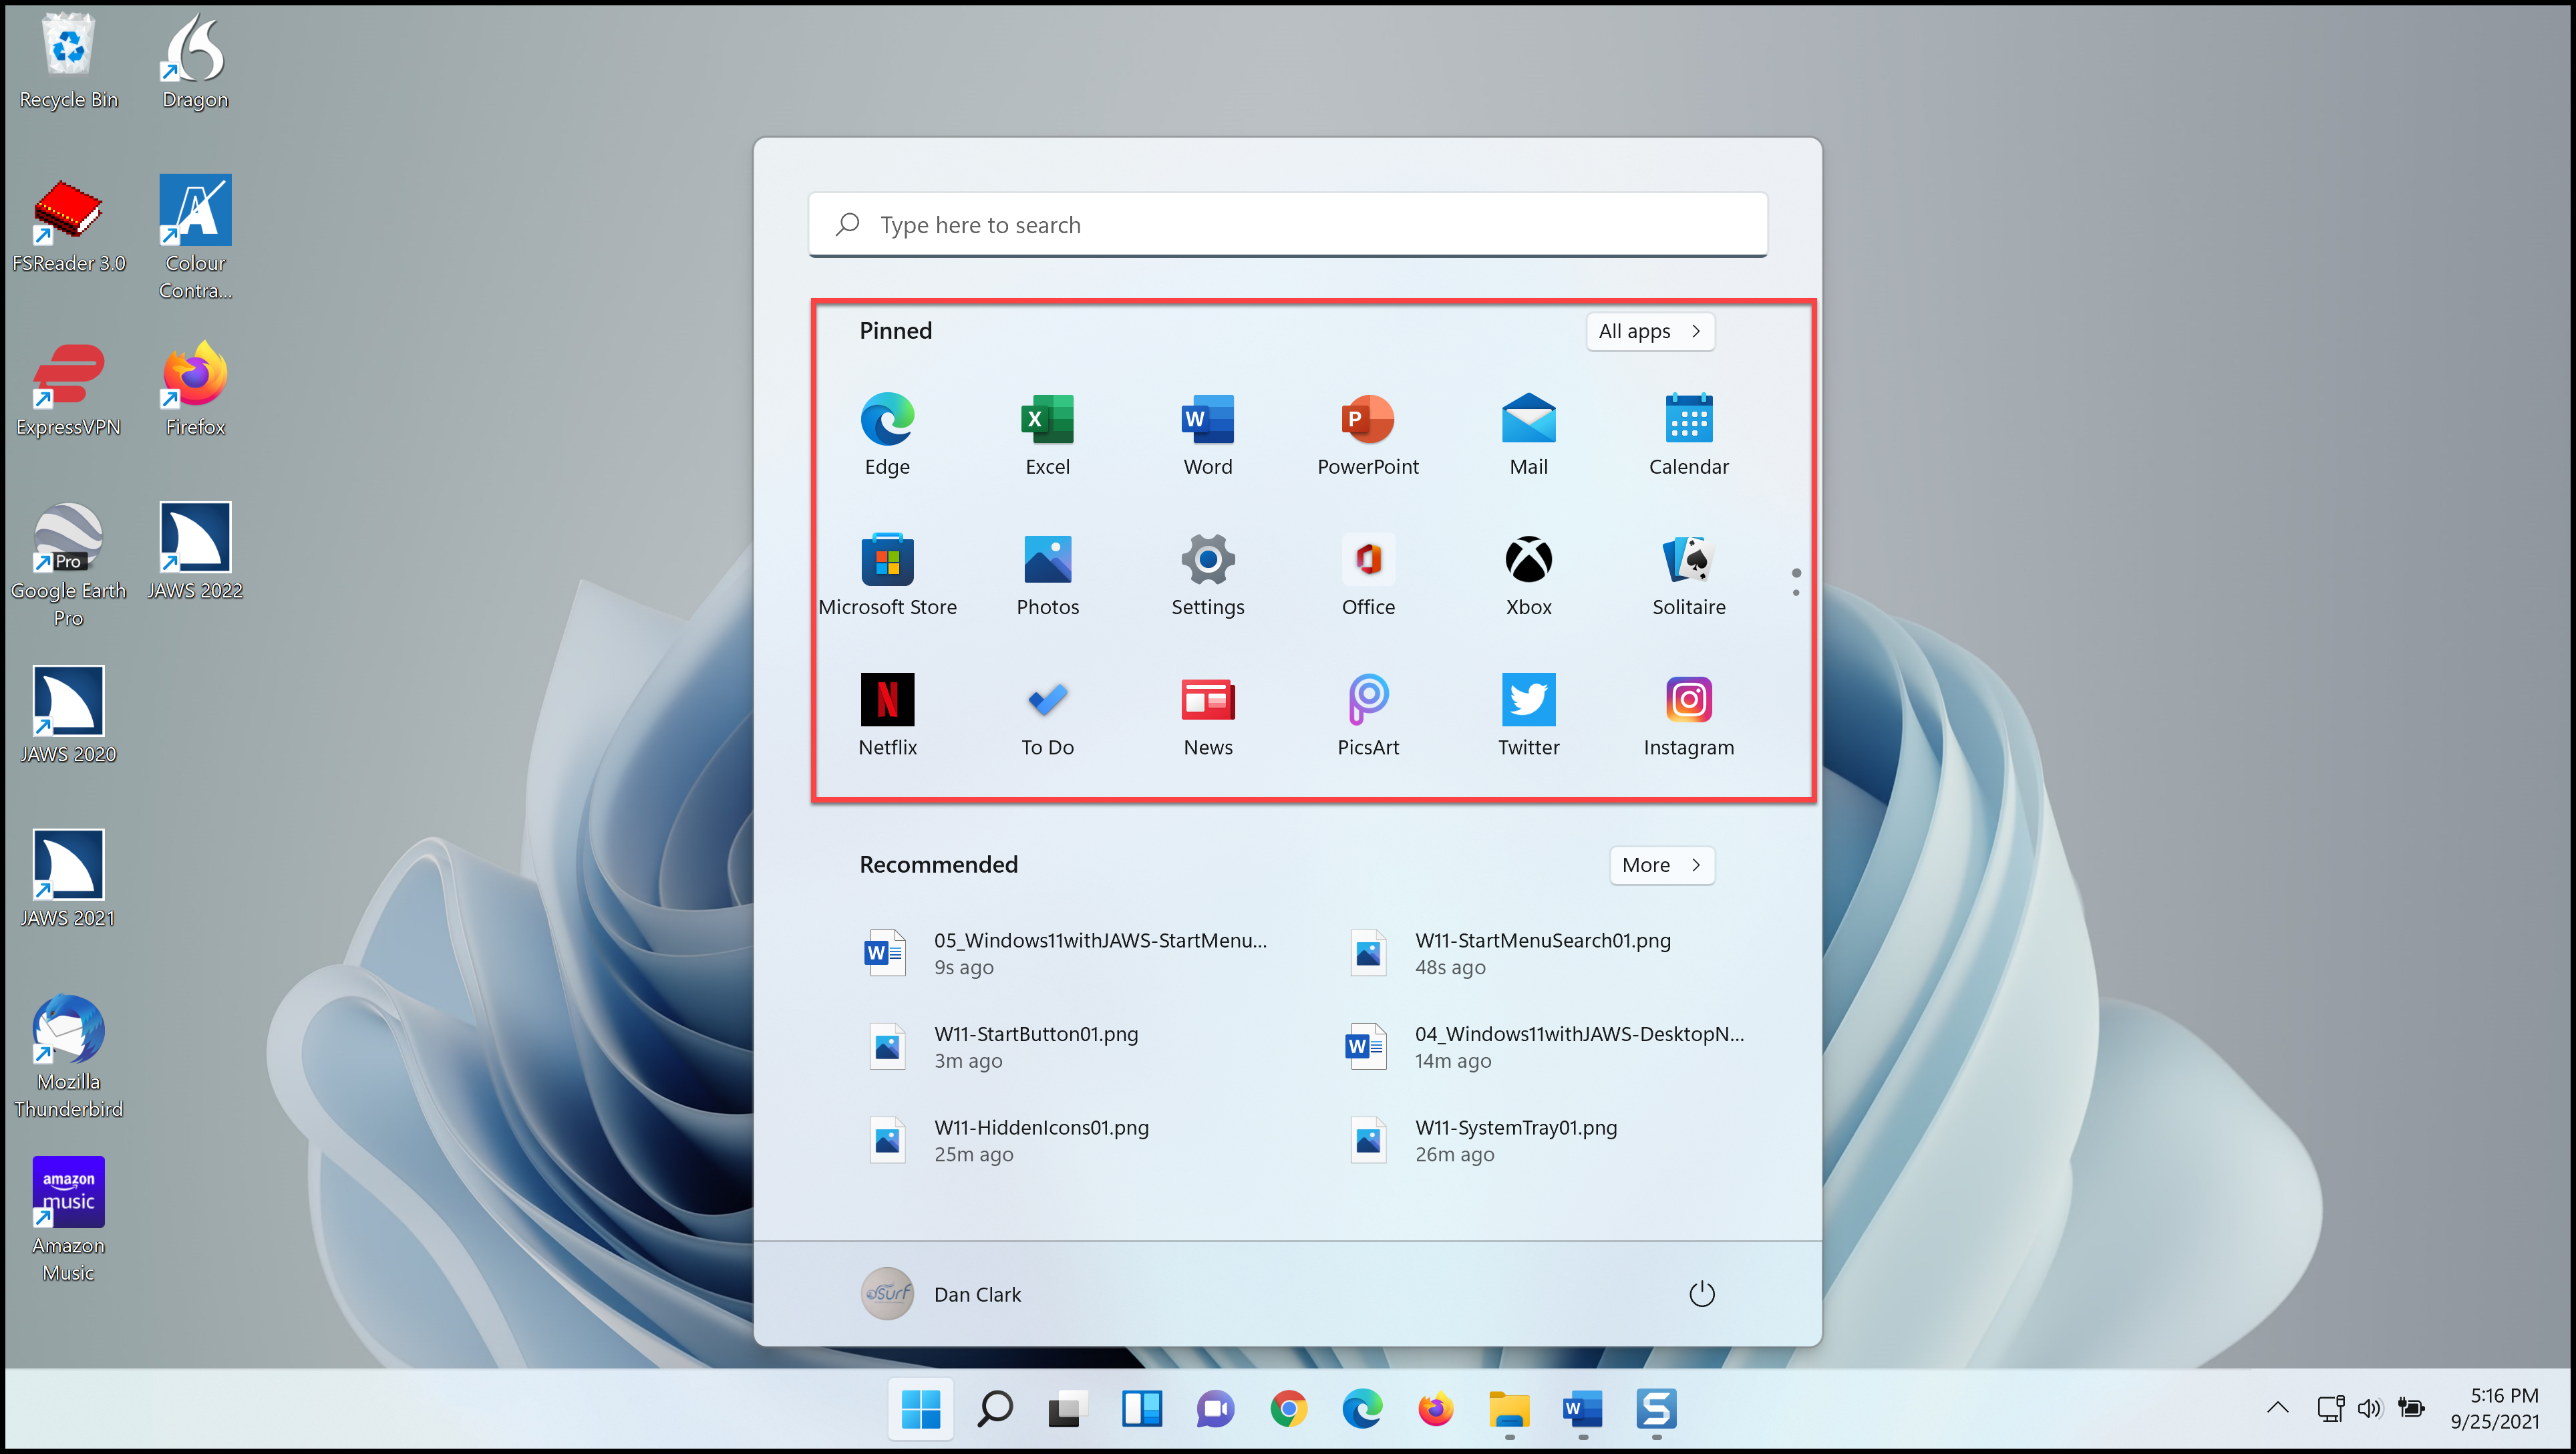
Initially this section displays several thumbnail images of pinned apps, depending on what Microsoft and/or your computer manufacturer may have pre-loaded. There are 18 or more items here, typically arranged in several rows and columns, within a small scrolling window inside the Start menu. You can add, remove, or rearrange pins in this section. Pinning, removing, and rearranging apps is covered in a later lesson.
- Press the TAB key to move to the next item in the Start menu, the All Apps button.
All Apps Button in the Start Menu
Pressing SPACEBAR on this button opens an alphabetically ordered vertical list of all installed apps on the computer. You may use first letter navigation to move to the beginning of a group of apps that start with that letter. Use the UP or DOWN ARROW to navigate one app at a time in the list.
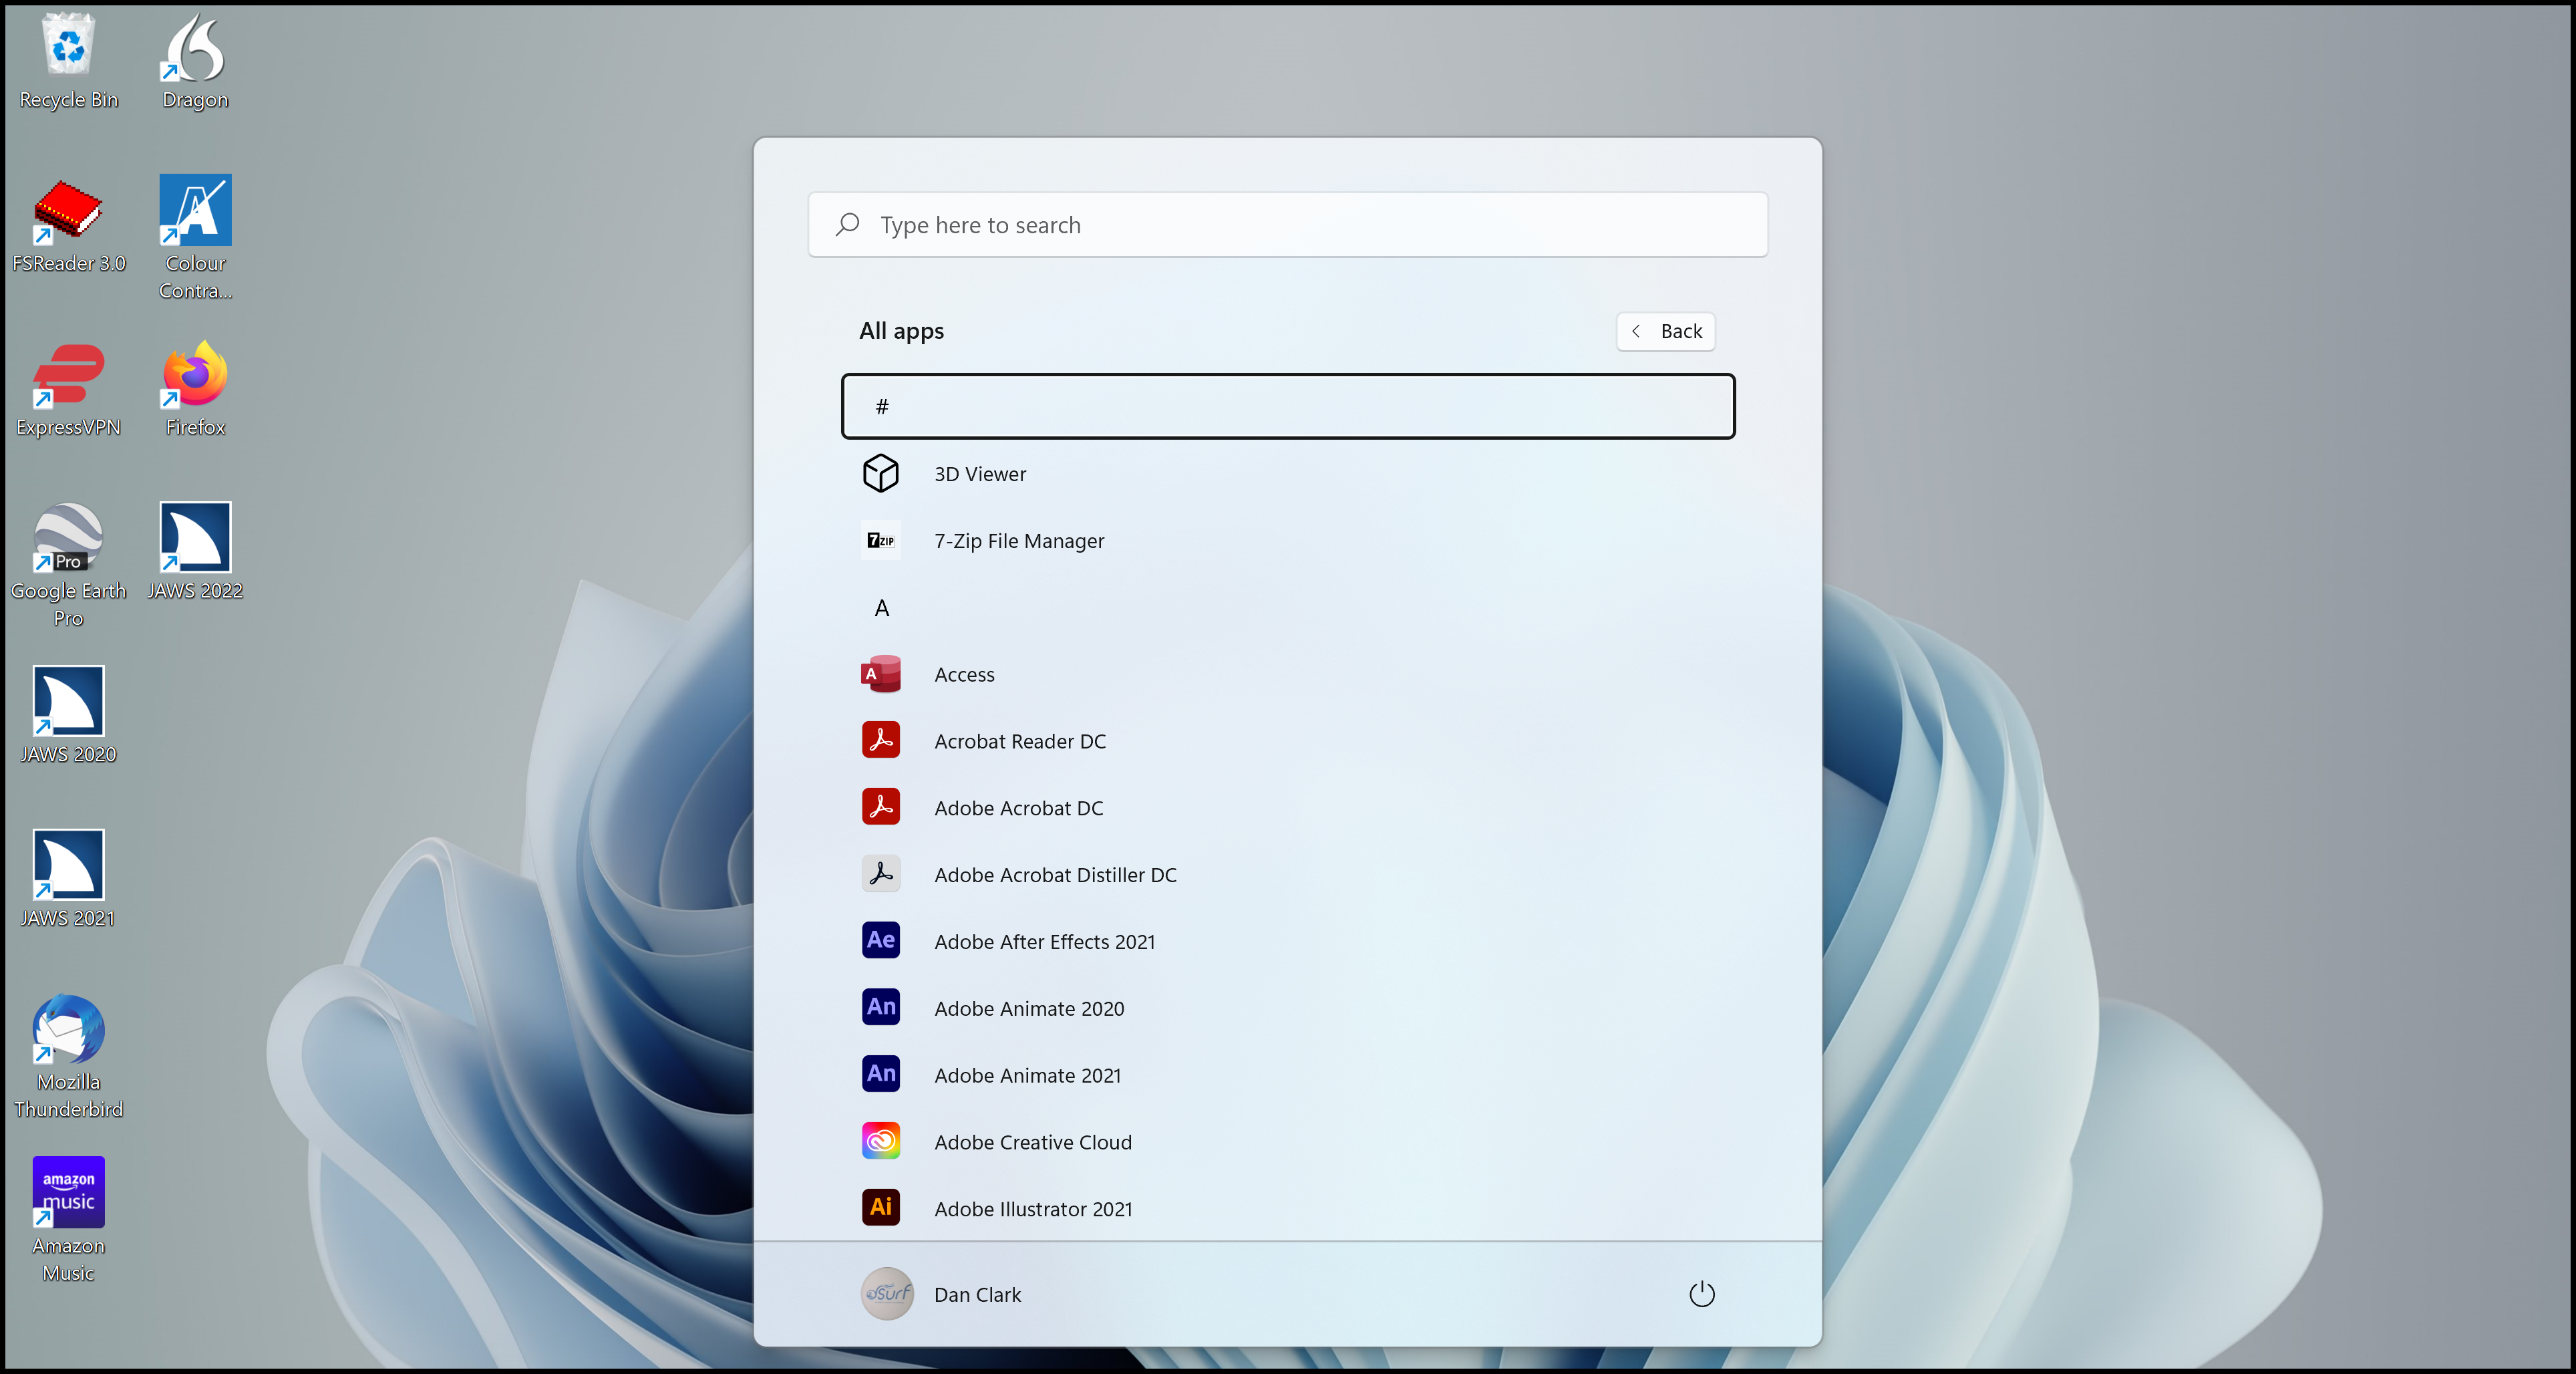
For example, press the letter C to navigate to the apps on your computer beginning with that letter.
- Press SPACEBAR first to activate the All Apps button.
- And then the letter “C.”
- Press DOWN ARROW.
To jump to apps that begin with another letter, just press another letter. For example, press the letter F to see what you find, and then press DOWN ARROW.
You may get slightly different results on your computer, depending on the apps you have installed. This is a nice way to explore the different apps available to you.
- For now, press ESC to close the list of Apps.
Recommended List in the Start Menu
- Open the Start menu again by pressing the WINDOWS key.
Focus is once again in the Search edit box. Do not type anything in the Search edit box now.
- Press TAB to move to the Recommended section.
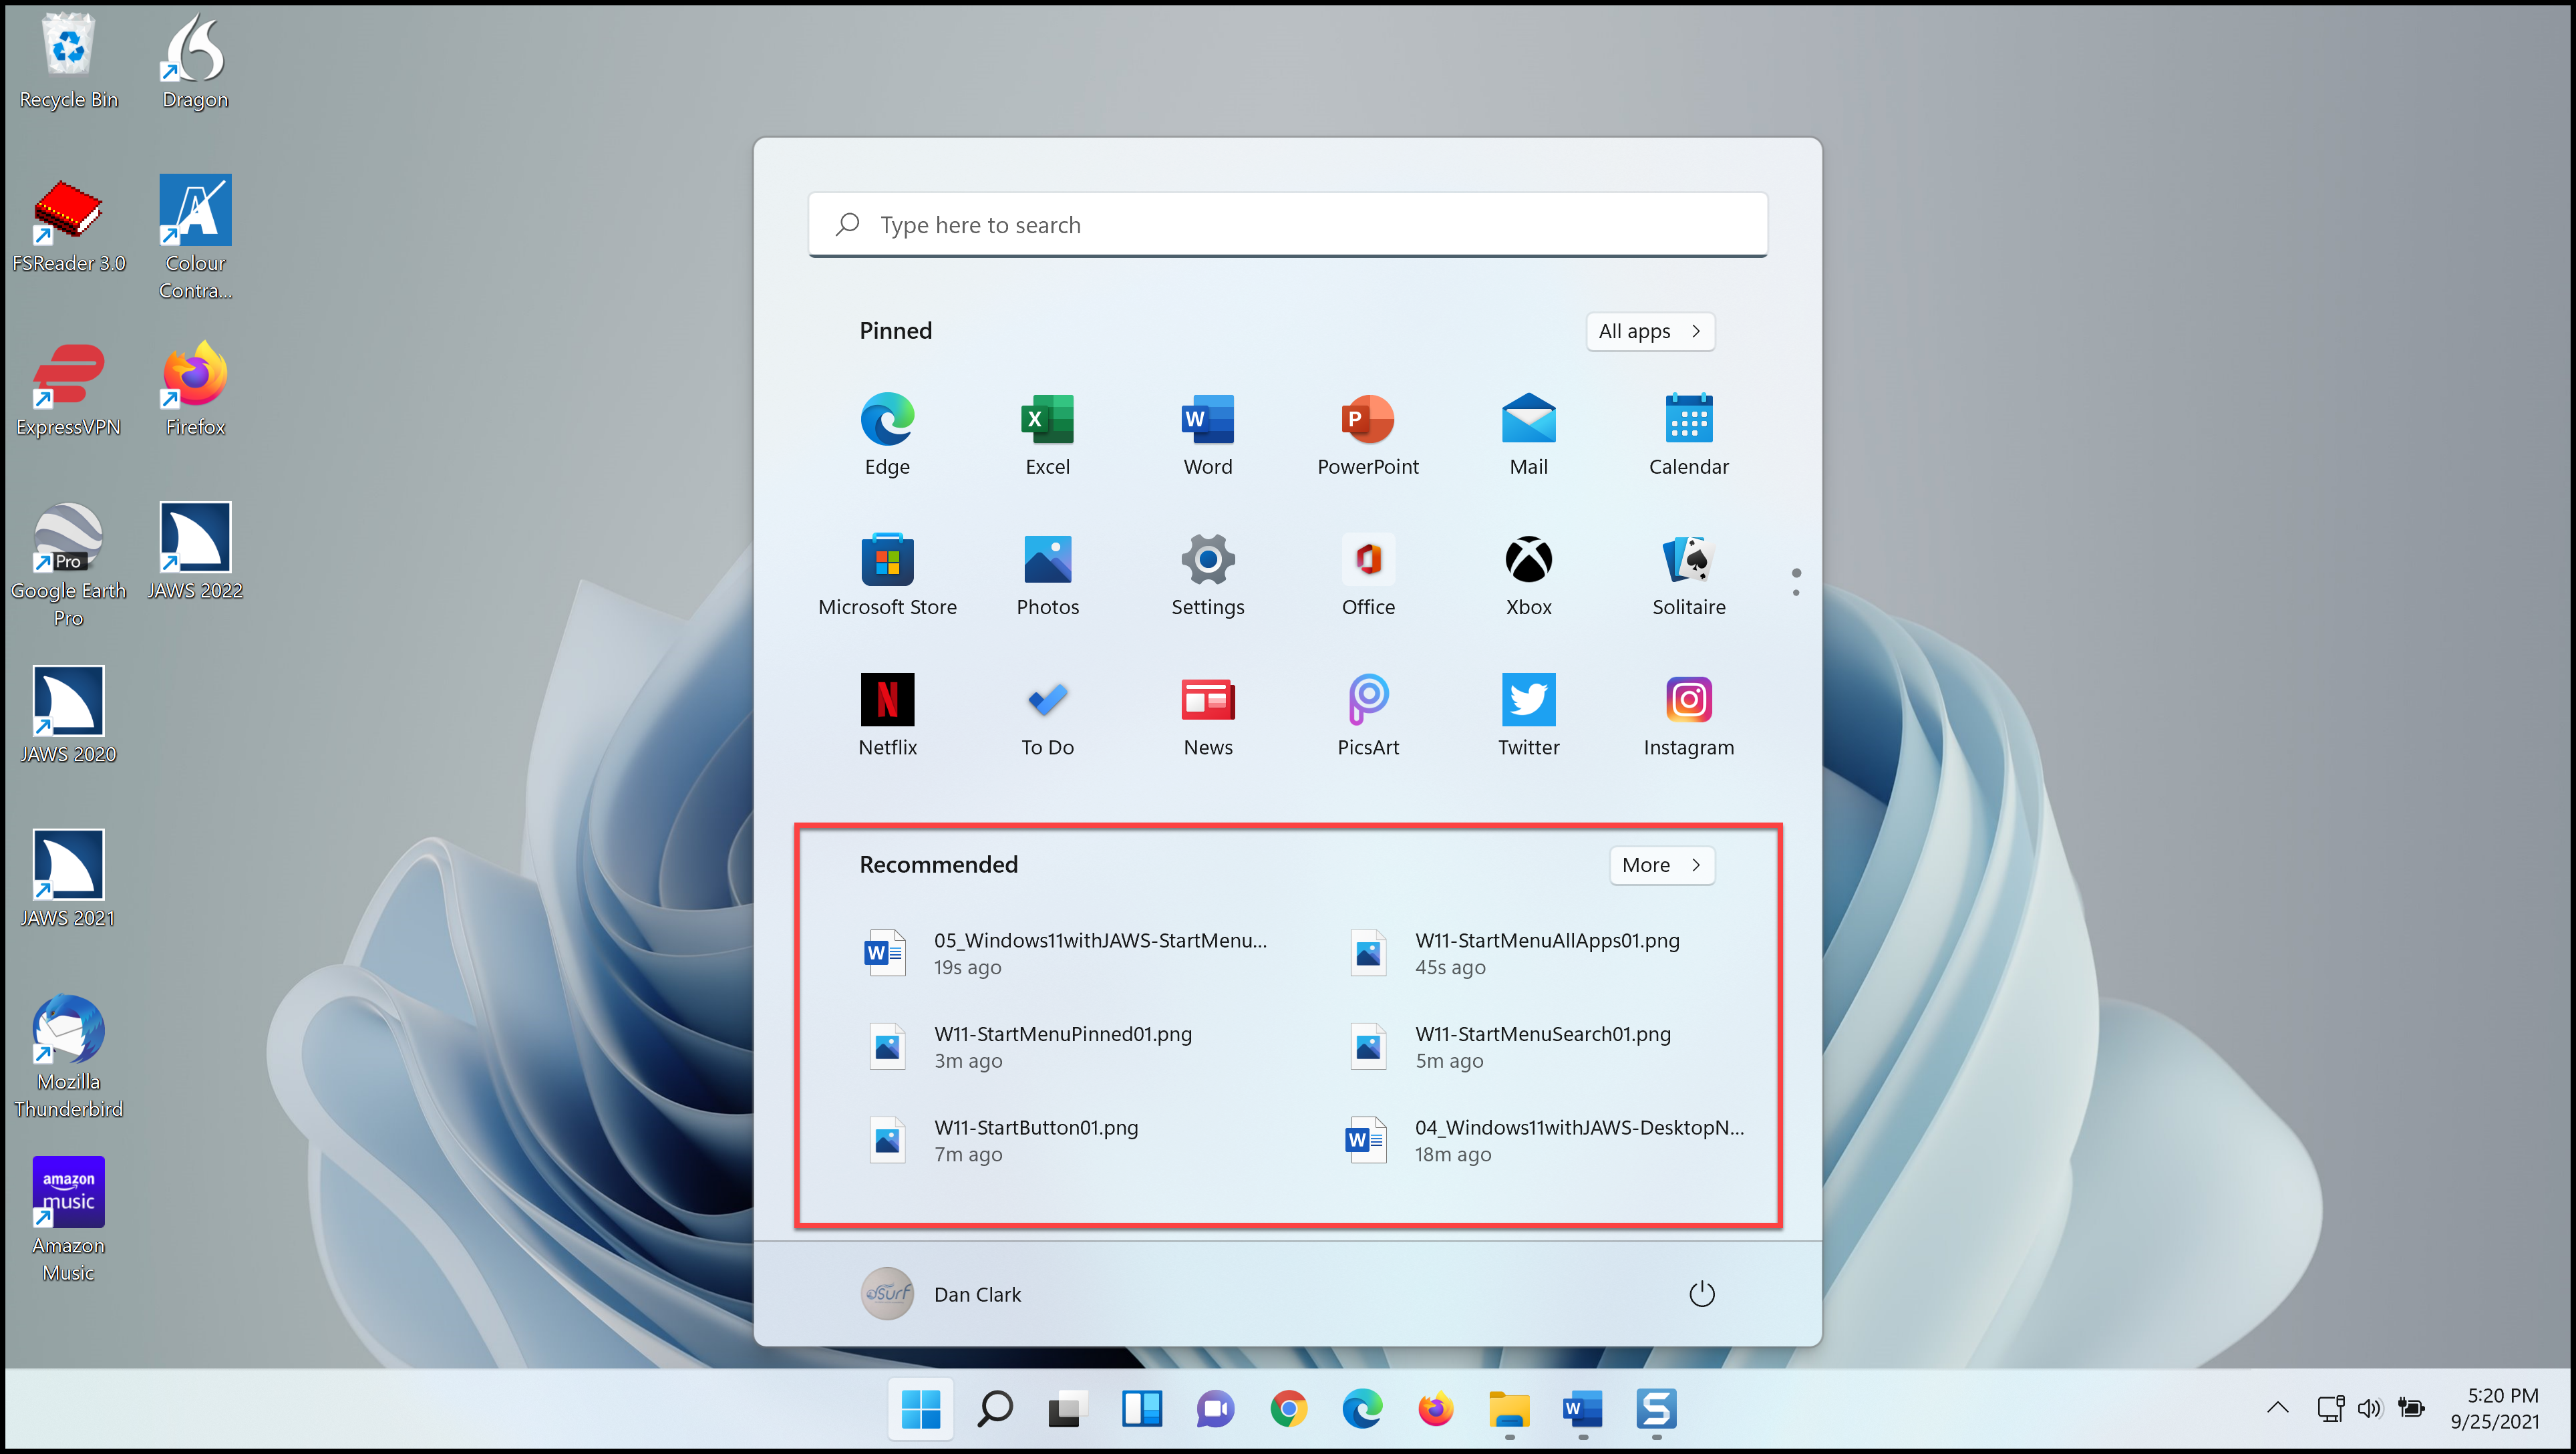
Just below the Pinned section, items here are initially pre-populated by Microsoft or OEMs. As time goes on, this shows recent files, etc. Use the ARROW keys to navigate in this list view grid.
- Next, move to the More button by pressing TAB.
More Button
This expands the Recommended section into a larger vertical list.
- Move to the User Account button by pressing TAB.
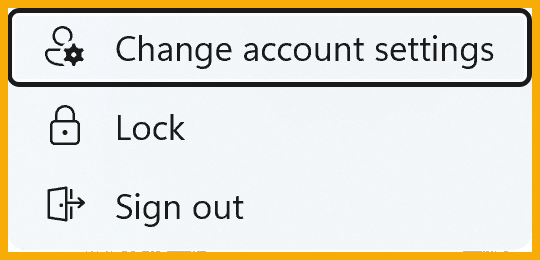
User Account Button and Power Button in the Start Menu
The User Account button in the Start menu gives you another way to access your account settings as well as lock the computer or sign out. To change settings, lock the computer, or sign out, press the SPACEBAR to activate the User Account button, and then select one of the items in the menu.
To access the Power button, first make sure focus is on the User Account button in the Start menu and then press the RIGHT ARROW. Then, to access a menu for Sign in Options, Sleep, Shut Down, and Restart, press SPACEBAR on the Power button.
For now, press ESC to close the Start menu.
Thank you for joining me in this lesson on opening and navigating within the Start menu in Windows 11. In the next lesson we cover pinning and arranging apps on the Start menu.