Pin and Arrange Apps on the Taskbar
Lesson 6
Author’s Note: This lesson is confirmed to be accurate with the latest Windows 11 2023 update, build 22621.2361 (28 September, 2023).
Resources
ZIP file of all resources for lesson 6 (alternatively, download individual files below)
dSurf Recommended JAWS Settings for Classroom Environments
Back to Windows 11 Training Page
Objectives
By the end of this lesson you will understand, be able to discuss, and/or perform the following tasks as they relate to pinning and arranging apps on the Taskbar in Windows 11:
- Locate and navigate to the pinned area of the Taskbar
- Explore the apps pinned to the Taskbar on your computer, noting their position in order
- Remove and add pinned buttons for apps to the Taskbar
- Rearrange the buttons for apps in the Taskbar
Introduction
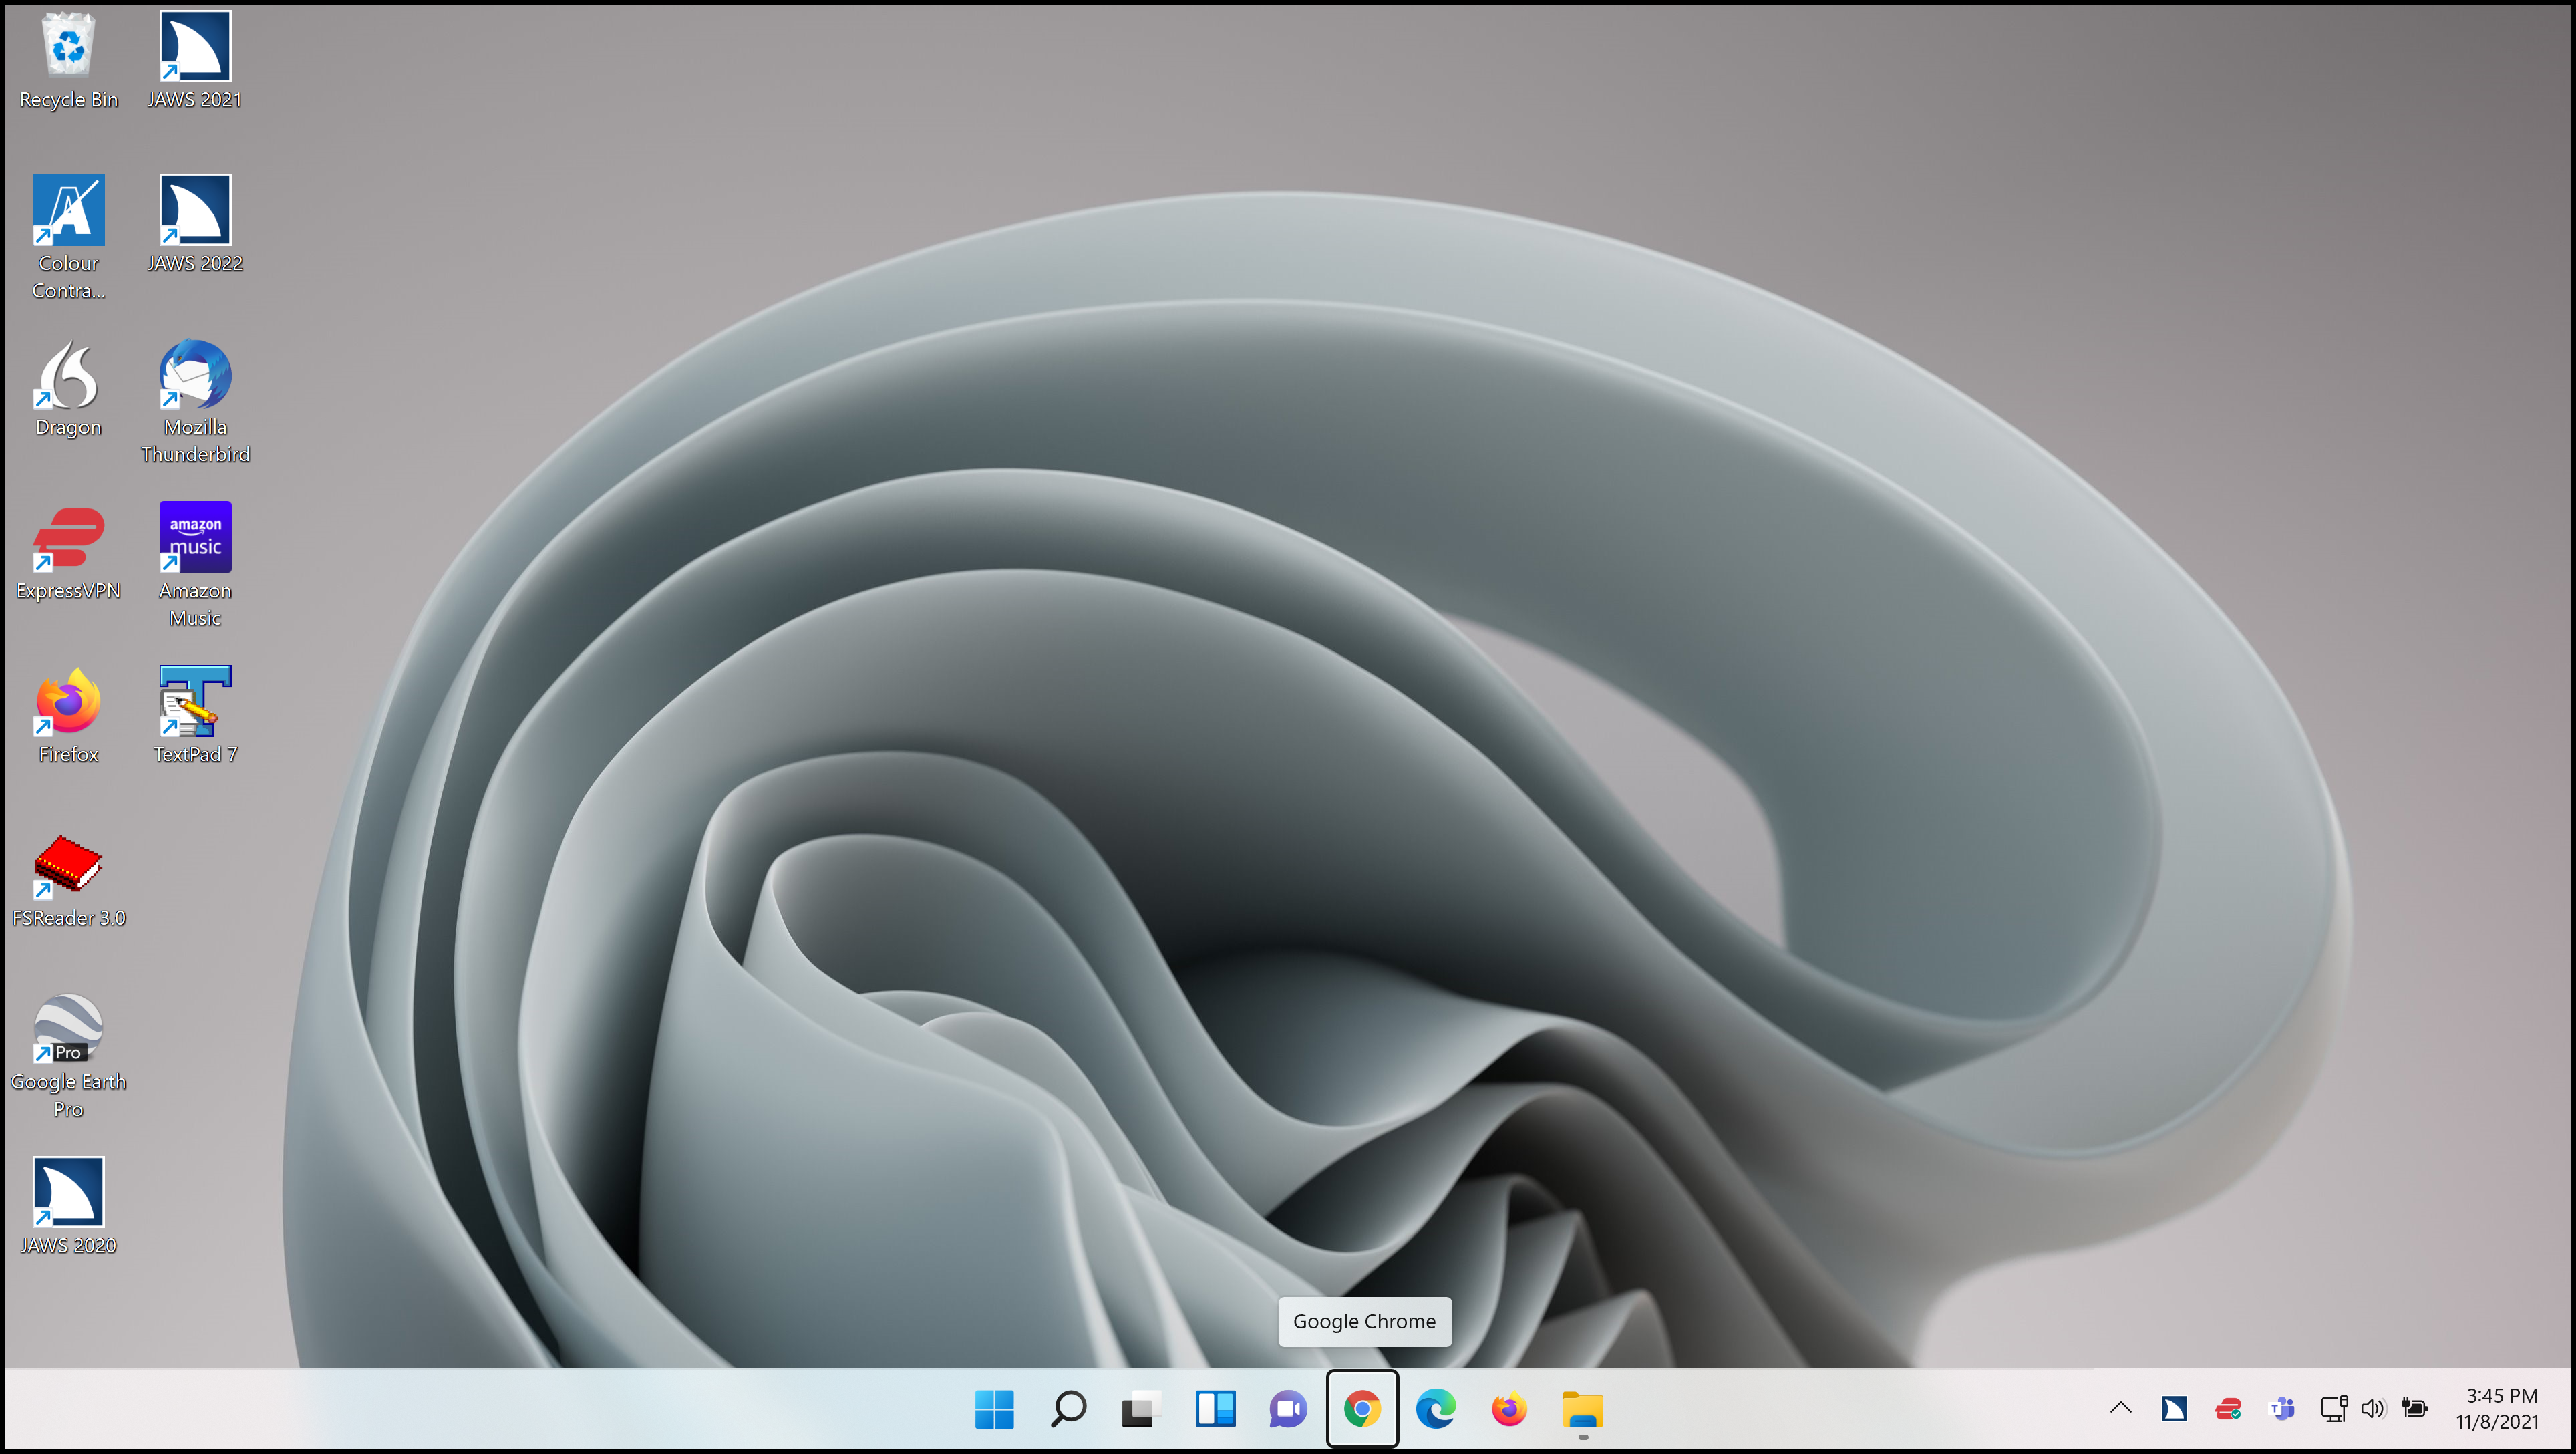
Why does it matter which apps are pinned to the Taskbar, and what difference does it make which one is first, second, etc.? Apps pinned to the Taskbar can be launched by pressing the WINDOWS key in combination with the numbers 1, 2, 3, etc. on the numbers row that represent the position of that app from left to right on the Taskbar.
So, for example, on my PC I can launch Chrome by pressing WINDOWS key+1. I can also launch Microsoft Edge by pressing WINDOWS key+2, Firefox by pressing WINDOWS key+3, and Windows Explorer by pressing WINDOWS key+4. So, having the buttons for the apps you use most often on your Taskbar gives you a very quick way of launching those apps with these handy Windows keystrokes. Then, arranging those apps in the order you prefer makes it even more convenient to remember. And you can do this all by using keyboard commands.
Explore the Pinned Section of the Taskbar
- First, look at the items pinned to the Taskbar on your computer. The quickest way to move to the Taskbar is by pressing the keystroke WINDOWS key+T. Go ahead and do that now.

- Next, explore the apps pinned on your computer’s Taskbar by pressing RIGHT and LEFT ARROW.
When focus moves to a button for a currently running app JAWS announces it as a “running window.”
As you move right or left, focus eventually wraps back to the first item. Make note of the order of the buttons here and which ones you wish to keep and/or remove. You will rearrange them later in the lesson.
Pin an App To the Taskbar
For this step add the button for Microsoft Word to the Taskbar on your PC. If you do not have Microsoft Word installed on your PC, just use the WordPad app for this example instead.
- First, press the WINDOWS key to open the Start menu.
- Move to the All Apps button by pressing TAB a couple of times, and then press ENTER to open an alphabetical list of all apps on your computer.
- Type the letter W to look for Word.
- Press DOWN ARROW to find Word.
- With focus on the item for Word open a context menu by pressing the APPLICATION key or right click it with the mouse.
- Press DOWN ARROW to move to “More” submenu.
- Open the More submenu by pressing RIGHT ARROW.
- “Pin to Taskbar” should be at or near the top. Press ENTER to activate it.
- Windows has added the button for Microsoft Word as the last of the pinned items on the Taskbar. Focus is still on the Word item in the Start menu. Close the Start menu by pressing ESC.
Note that visually there is a gap to the right of the last pinned app on the Taskbar. In the far right corner past this gap is the Taskbar Corner and its associated buttons. The button for Word on the Taskbar is the last one of the centered buttons grouped in the middle of the Taskbar.
Remove Pinned Items from the Taskbar
You can add, remove, and rearrange buttons for apps on the Taskbar. The original Windows install added a button for File Explorer to the Taskbar on my PC. If you typically use a different keystroke to launch File Explorer, WINDOWS key+E, you can remove the button for it from the Taskbar. That allows more room there for an app you use more often, one that you can assign to a position here that allows you to use a built-in Windows keystroke based on the position it occupies on the Taskbar.
You can remove the buttons for apps pinned to the Taskbar by right-clicking the button or pressing the APPLICATION key or SHIFT+F10 while focus is on the button to open a context menu, and then choosing “Unpin from Taskbar. If you do not have File Explorer on the Taskbar, you can practice for this part of the lesson by deleting the button for Word or WordPad that you added moments ago now that you know how to add it again.
- Press RIGHT ARROW to find the button for File Explorer or another app you wish to remove from the Taskbar.
- With focus on the button for File Explorer or another app you wish to remove, press the APPLICATION key or SHIFT+F10. A context menu opens.
- Press UP ARROW to move to the item “Unpin from taskbar,” which is located near the bottom of the context menu.
- Press ENTER. The context menu closes and the button for File Explorer is no longer on the Taskbar.
Arrange Pinned Items on the Taskbar
Rearranging the buttons on the Taskbar with the apps in a certain order can make it easier for you to launch the apps you use most often. It gives you instant Windows keyboard access to your favorite apps and can even benefit low vision users who may be using a mouse with screen magnification software, such as ZoomText. It also benefits keyboard or other users with alternative input devices.
There are a couple of ways to arrange pinned items on the Taskbar, including clicking and dragging using the left mouse button, or by using the keyboard. Screen magnification and mouse users, feel free to click and drag the buttons in the pinned area of the Taskbar left or right now to suit your needs.
To arrange items on the Taskbar using the keyboard, perform the following steps:
- First, move to the first item on the Taskbar by pressing the keystroke WINDOWS key+T.
- Press RIGHT or LEFT ARROW to move focus to the button you just pinned for Word or WordPad.
- In this example, the button for Microsoft Word is number six in the order from left to right. To make it the first button, press one of the following keystrokes:
- Move the pinned button one to the right, ALT+SHIFT+RIGHT ARROW
- Move the pinned button one to the left, ALT+SHIFT+LEFT ARROW
Since you want to move the Word button to the left, and the beginning of the pinned apps on the Taskbar, press ALT+SHIFT+LEFT ARROW five times.
Note that while moving pinned items on the Taskbar, focus does not wrap. So even if you press the keystroke to move a pinned button more times than intended, the button movement stops at the beginning of the pinned items there. The same is true if moving a button to the right on the Taskbar. Once the button reaches the last position, nothing further occurs.
JAWS did not speak anything while moving the button for Word. It may be possible in a future version of JAWS or Windows 11 as they evolve to read the positional information here, but for now, the work around is to manually check the order of the buttons on the Taskbar by using the keystroke WINDOWS key+T to move to the first item on the Taskbar and then use the RIGHT ARROW key to read through the buttons and determine their order.
- Press WINDOWS key+D to move focus to the Windows desktop first, just to move focus away from the Taskbar area.
- Then, move focus to the first button on the Taskbar with the Windows keystroke WINDOWS key+T.
Word is the first button pinned on the Taskbar, and you can launch it at any time from now on by pressing WINDOWS key+1.
- Next, press RIGHT ARROW to move through the remaining icons pinned on the taskbar.
Excellent! Now you have added a new button to the pinned section of the Taskbar and moved it to the first position.
Continue this process to refine the order of the remaining buttons you have pinned to the Taskbar on your PC and remove the buttons you no longer need.
- Finally, try the keystroke WINDOWS key+1 now to verify that Word launches.
Feel free to add, remove, and rearrange the pinned buttons on the Taskbar of your PC to your heart’s content. Don’t forget to close Word by pressing ALT+F4.

